So you’ve got a van and it’s NOISY! If you using it for touring the heat coming off the sheet metal is like a fry pan, and the condensation in the morning is dripping from the ceiling.
You’re sick of it, right? Well there’s a way to fix it!
The biggest problem we have is the commercial aspect of a van means they come with NO trim. This creates a resonance issue where any sound created can bounce off the side walls, roof and floor to its own tune. You will notice if you tap on the side wall the sheet metal it is comparable to a instrument.
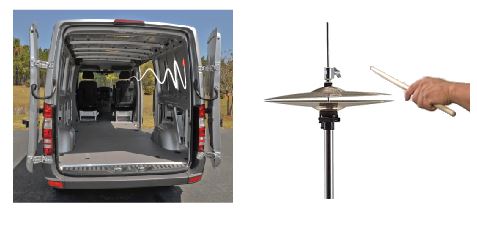
The characteristic from driving, where deflection and twisting of the body creates constant resonance and nuisance noise. The ability to have a conversation also can be difficult when inbound sound is constantly rebounding off rigid surfaces.
This can all lead to frustration and fatigue
OK my van sucks! How do I treat this?
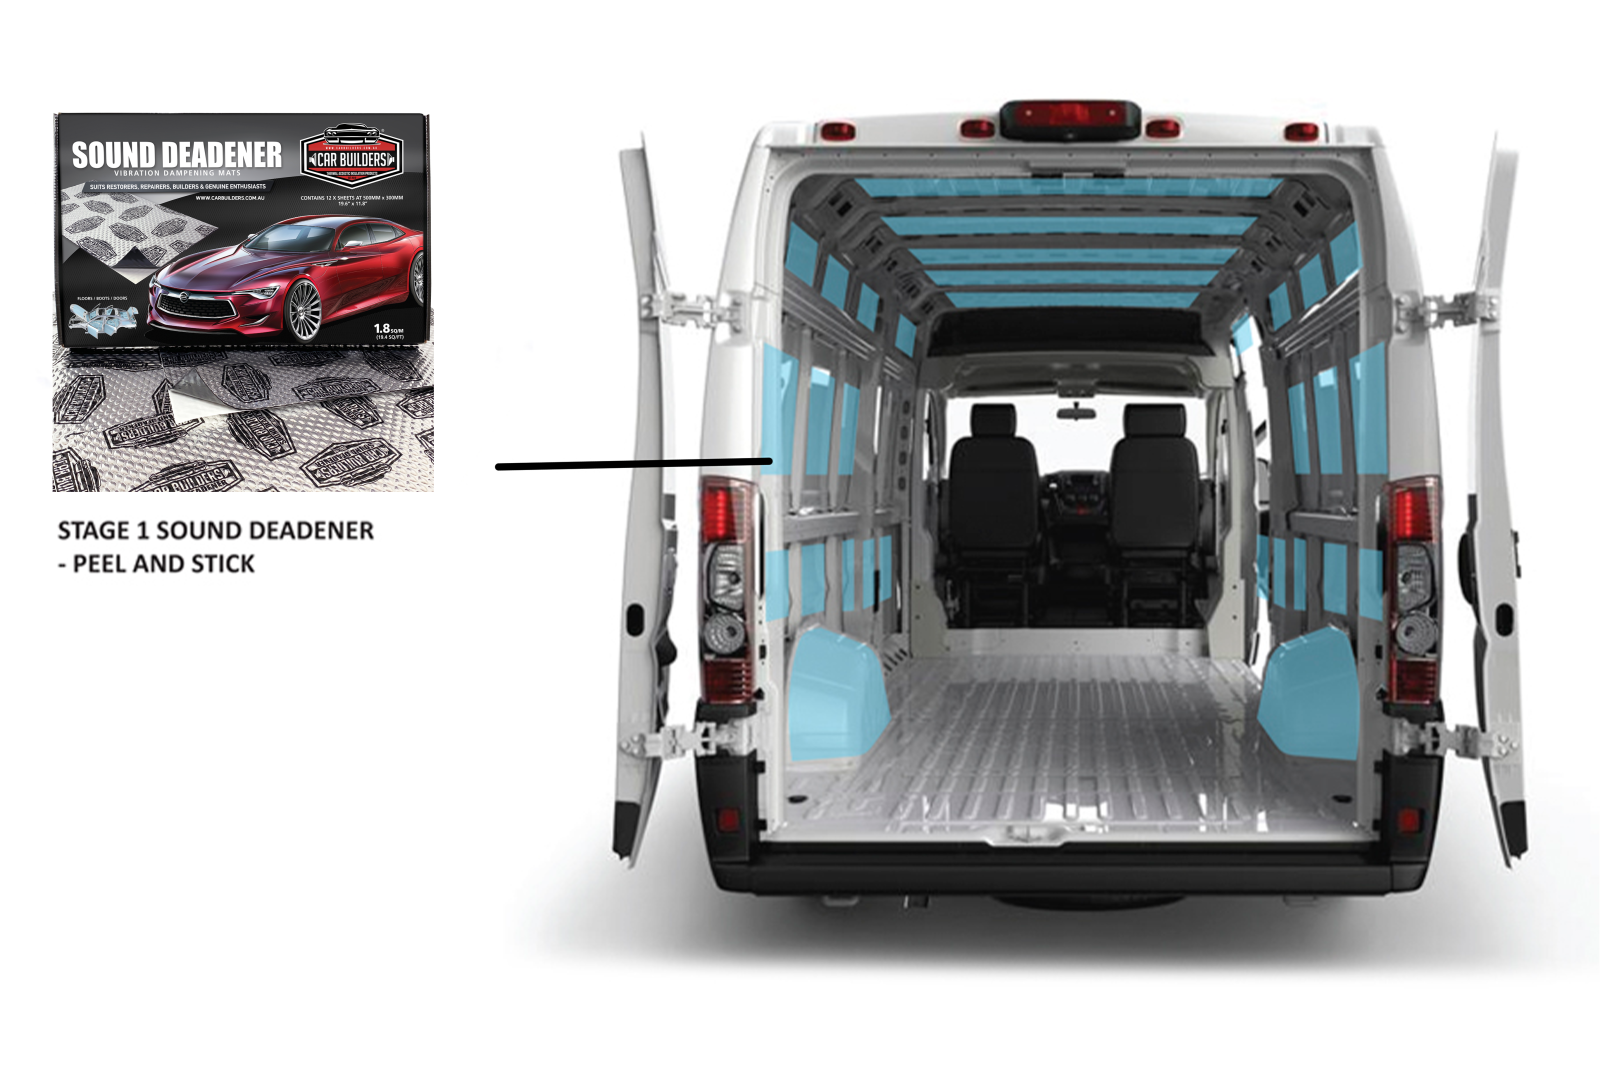
Step 1. Control the drumming with noise dampening sheets
.jpg)
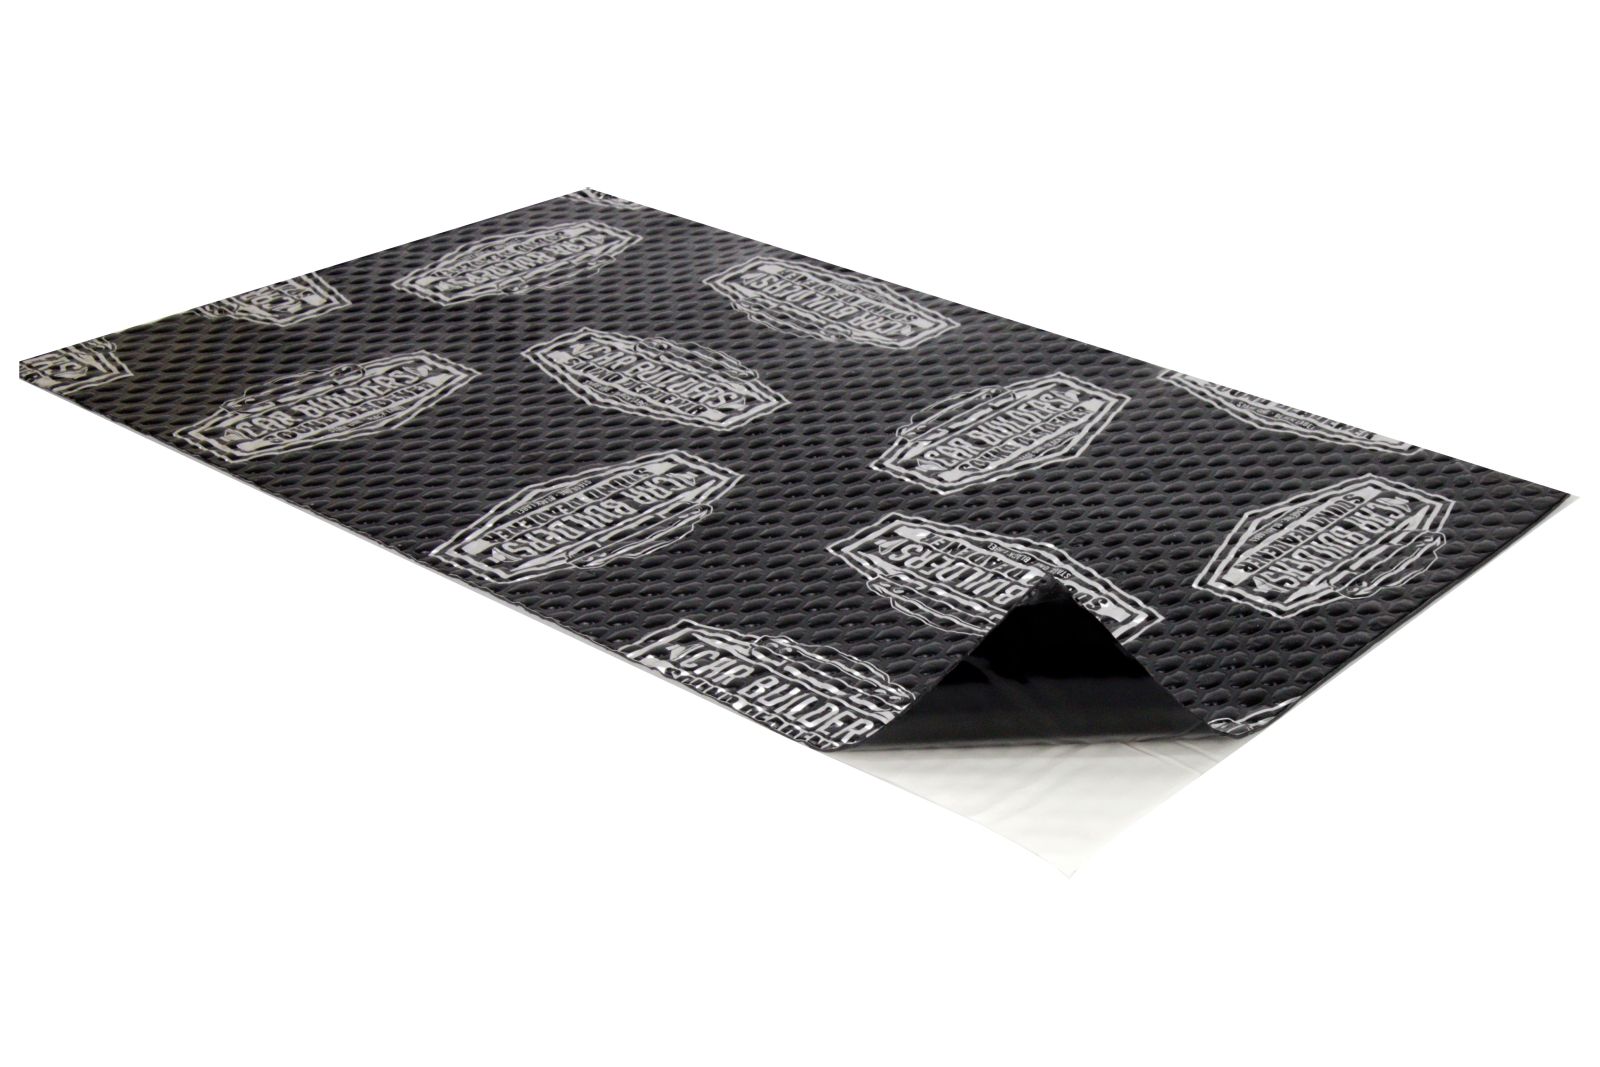
Our stage 1 sound deadening sheets come as tiles that are peel and stick. Start by placing these tiles in the middle of single skin sheet metal panels. Think of the panel as a swimming pool, you throw a pebble in the pool and the water ripples.

Once we put a pool cover on the pool and throw a pebble in it what happens?
Our Stage 1 sound dampening mats will effectively work to absorb the energy and make the sheet metal become a poor instrument, that’s what we want!
But how do I know where to put it? Ok this is where you get to be the engineer, anywhere that is single skin sheet metal is going to be a problem. Start from the center of these areas and work outwards.
Areas to do are: roof skins, side walls, ¼ panels, rear doors, wheels arches and floors.
Do I need to cover the whole panel? If you’ve got a tight budget cover at least 60% working from the center outwards. If you only want to do the job once and never want to think about it again, skin the lot.
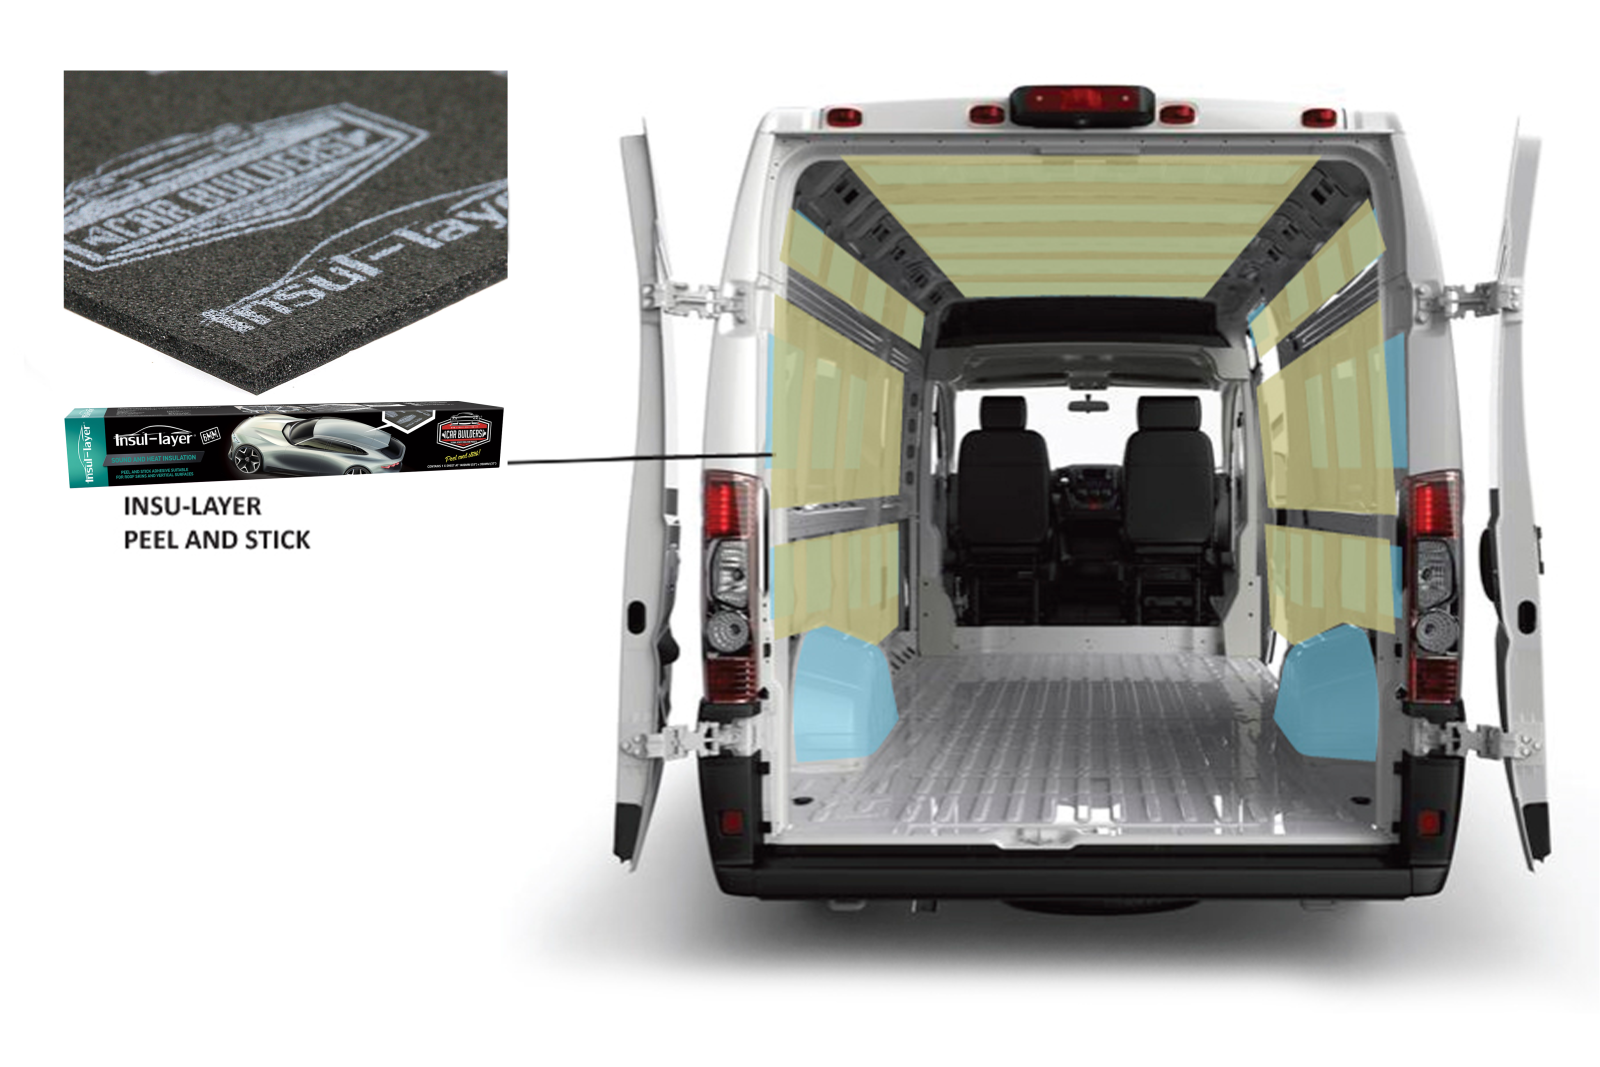
Step 2. Absorb and insulate.
So it still not 100% having a rigid aluminium stage 1 damping sheet exposed, we now need to soften the blow.
Our stage 2 Insu-Layer foam is a peel and stick closed cell foam. At 6mm thick it is a light weight universal material which will package behind most trim panels and head liners. Our Insu-layer is designed as a de-coupling layer where sound energy further blocked and absorbed. In effect when sound waves hit the material they are filtered and have minimal energy on return.
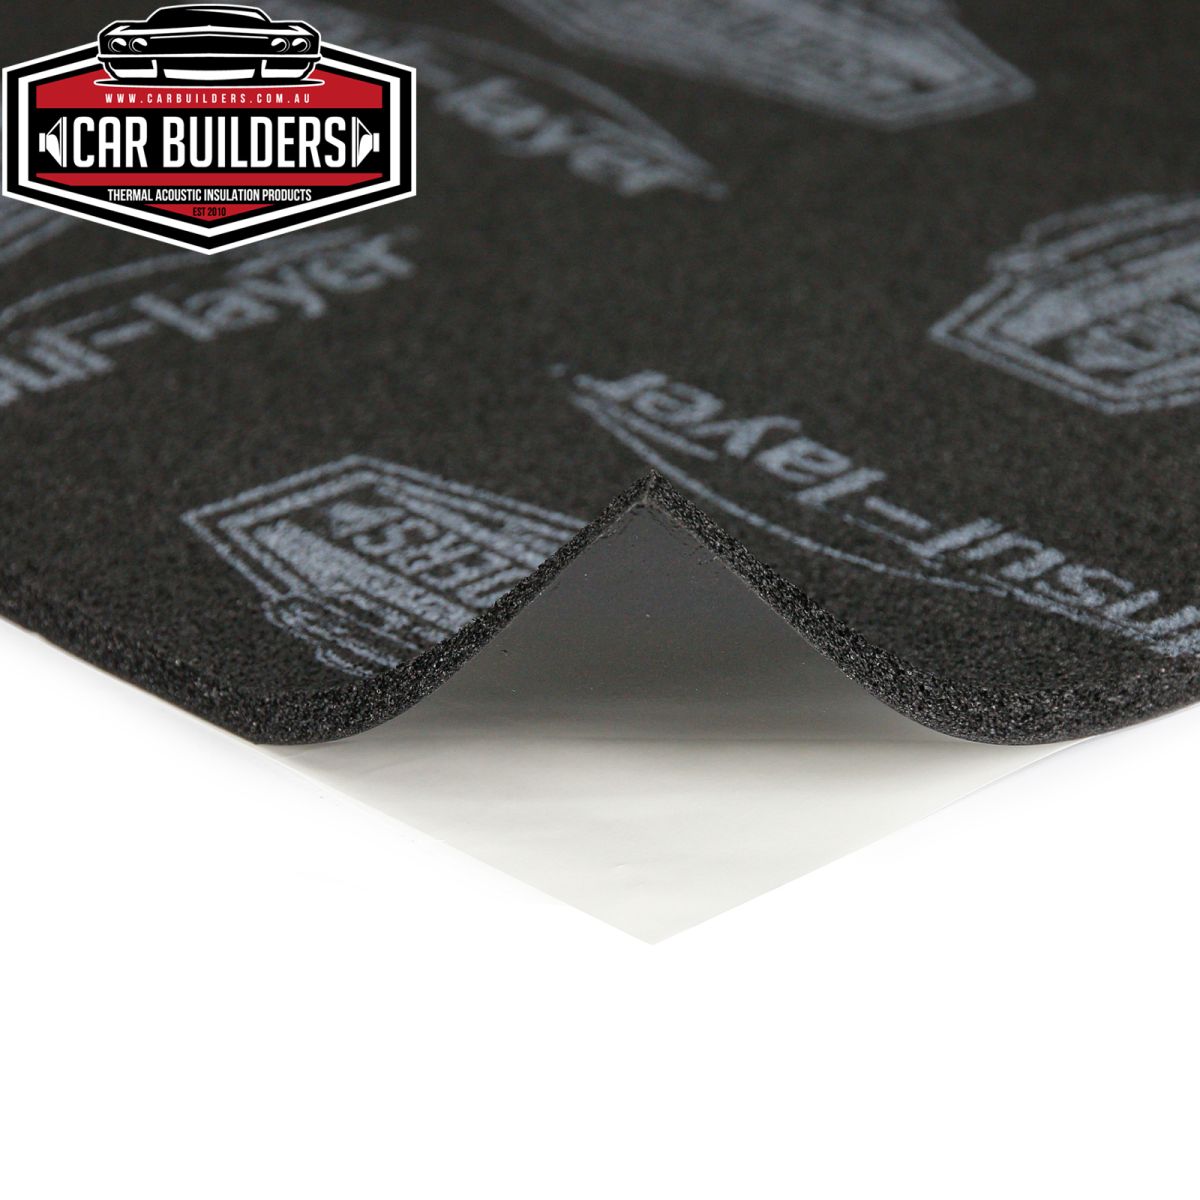
Not only does Insu-Layer reduce sound it is effective at reducing heat transfer. The same raw material is used to lag hot water pipes. Ever tried holding a hot water pipe outlet without the lagging? Yes it’s not going to last long, yet with the lagging you can hand on it all day long.
So now we want to line all exposed surface with the peel and stick Insu-Layer foam. The foam cut be easily cut with scissors and applied with our application roller.
Once the interior is lined with both products you will have created an interior environment where
- You can have a conversation without yelling
- Road noise will no longer annoy and fatigue you
- Radiant temperature in summer will be reduced
- sleep without the condensation build up
- touch the interior foam and not have the sheet metal burn you in summer and freeze you in winter.
.JPG)
Step 3. Insulate the floor
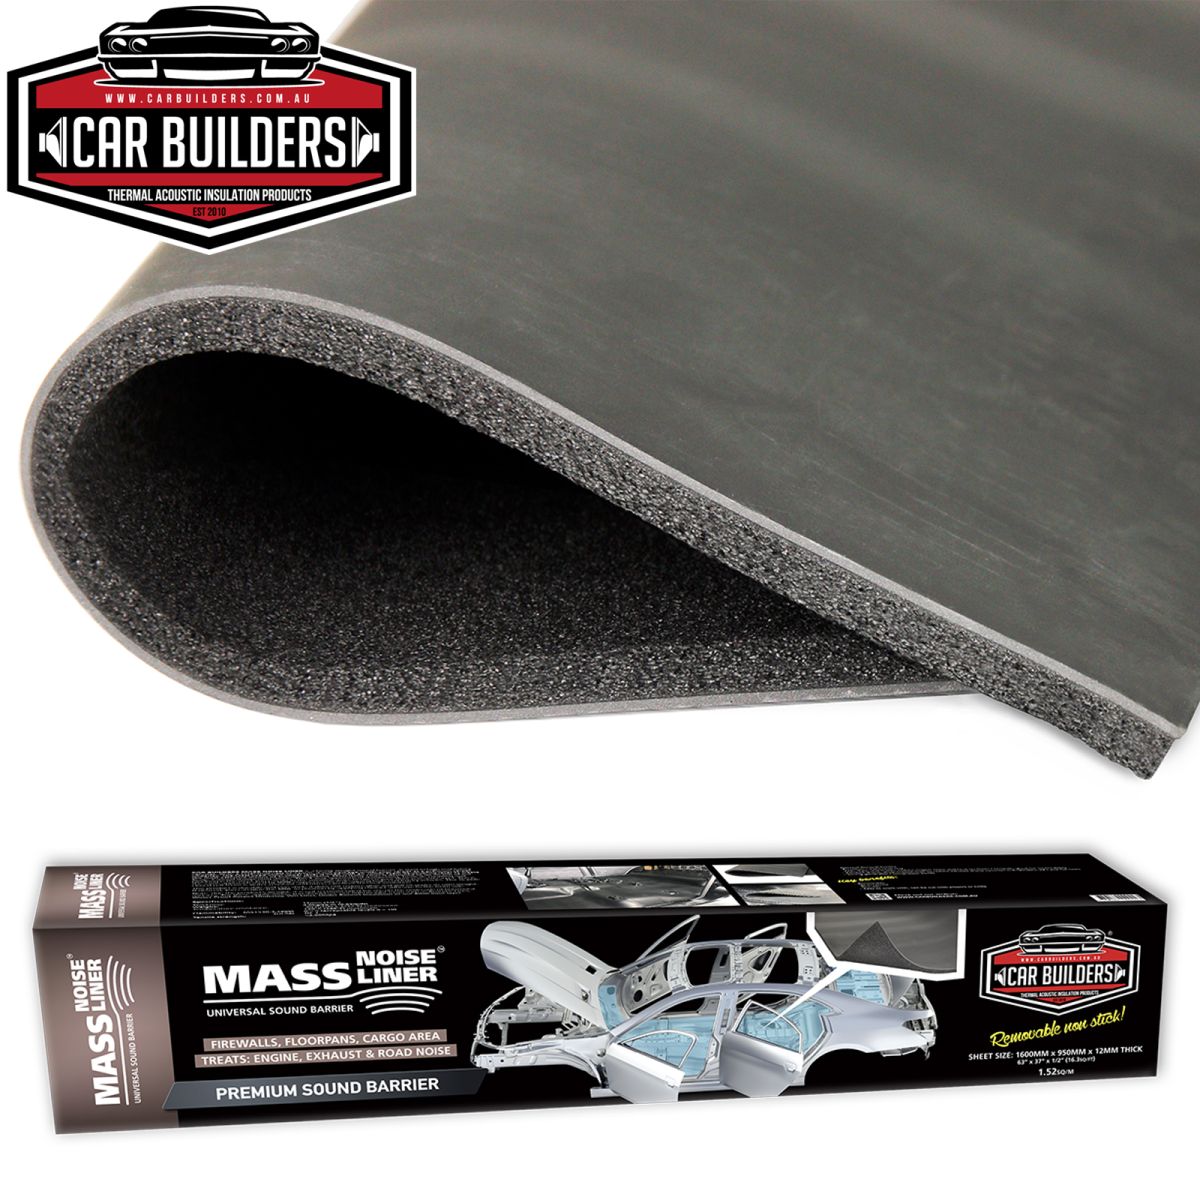
Mass Noise Liner is the alternative to peel and stick for those who want a removable solution. The material has a foam decoupling with a heavy weight mass loaded vinyl noise blocking layer. The product is designed to install foam side down and can easy be templated to floor shapes. The material is ideal for large flat areas such as the cargo area of your van.
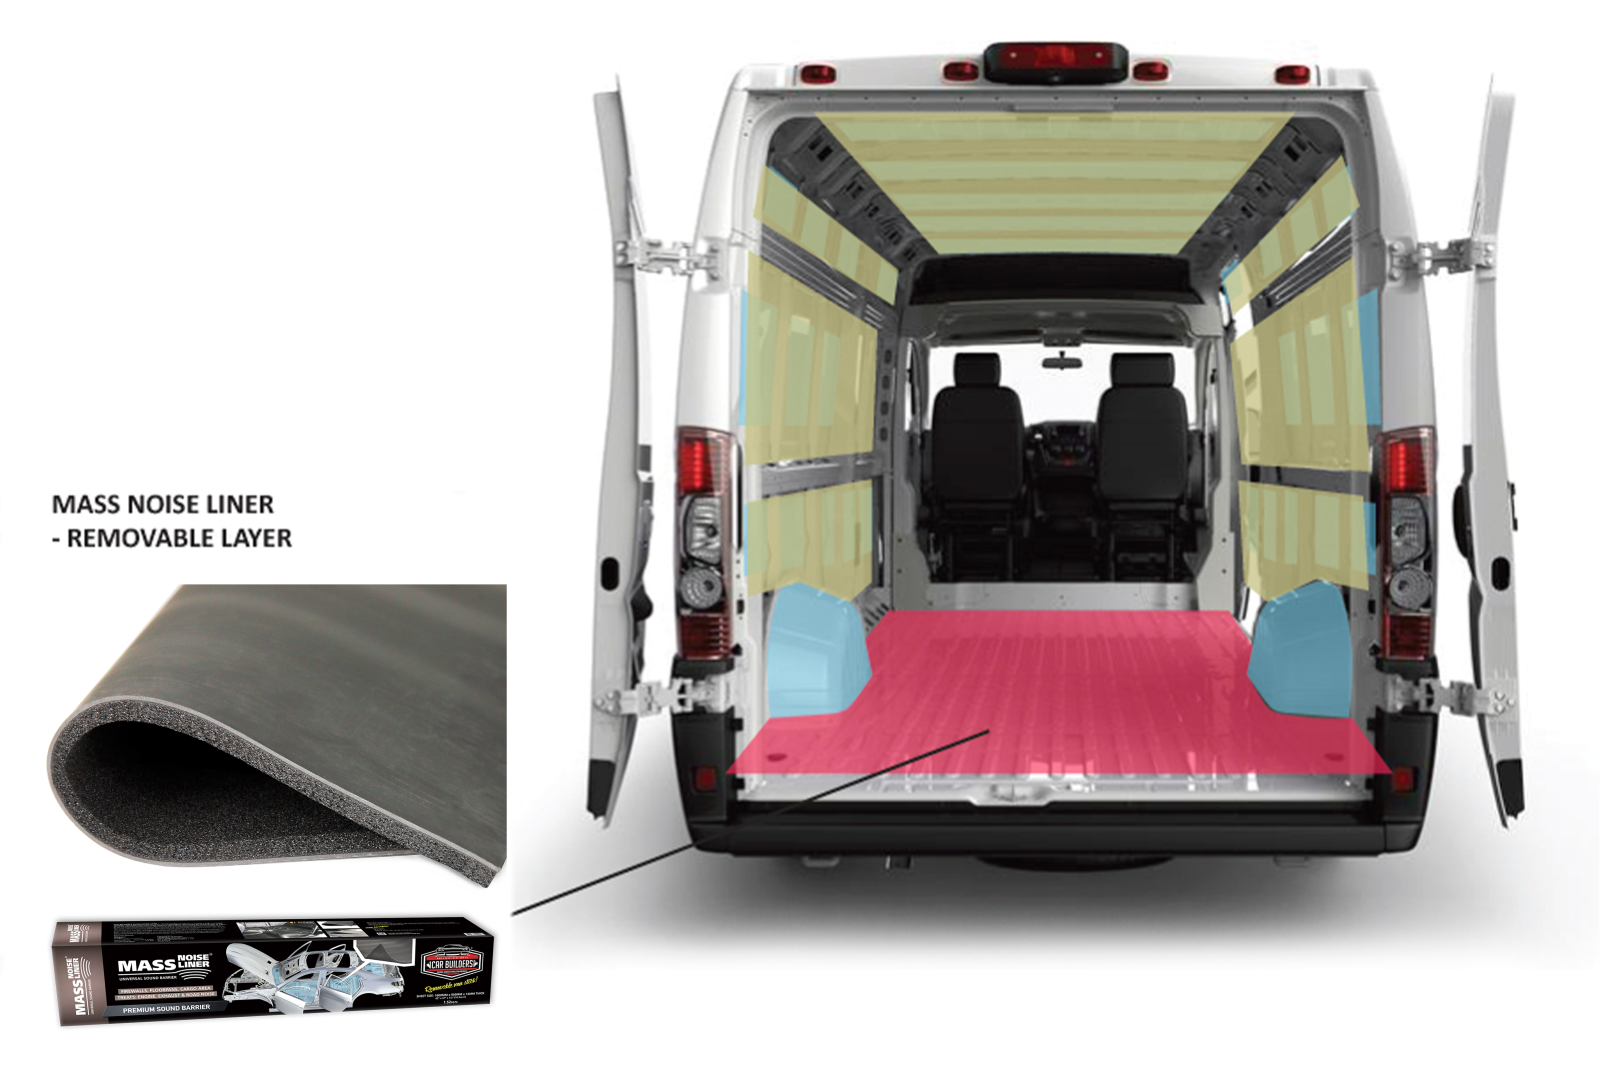
Mass Noise Liner is robust and does not require any glue. Not only is it the premium noise bloacking soloution it also offers great thermal insulation controlling those pesky heat issues.
What your going to love about the MNL is the easy of the installation. Simply cut it to shape around your wheel arches and place on the floor, the foam de-coupling layer will fall into the ridges of your floor and compress on all the highs. The material will sit there under its own weight and does not require glue making the speed of installation super quick.
OK sound good but how much do I need?
Small van approx. 3.6sq/m
Medium sized van (Transporter / iload) 8 – 12.6 sq/m
Large Van (LWB high roof) 12 – 16 sq/m
The most accurate way is to run a tape over the areas you wish to cover.
Simply measure
Length x Width = sq/m
example: 1.6m x 1.3m = 2.08sq/m